
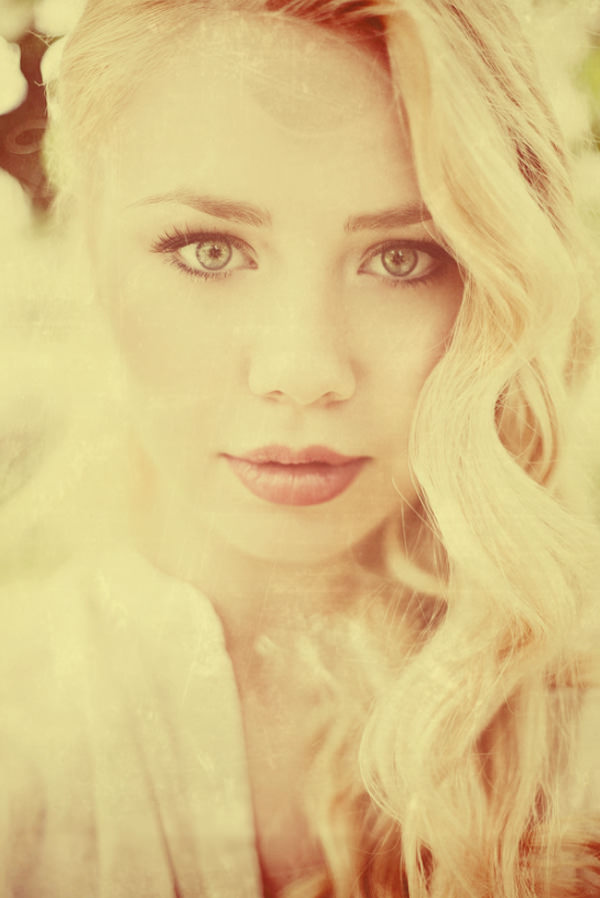
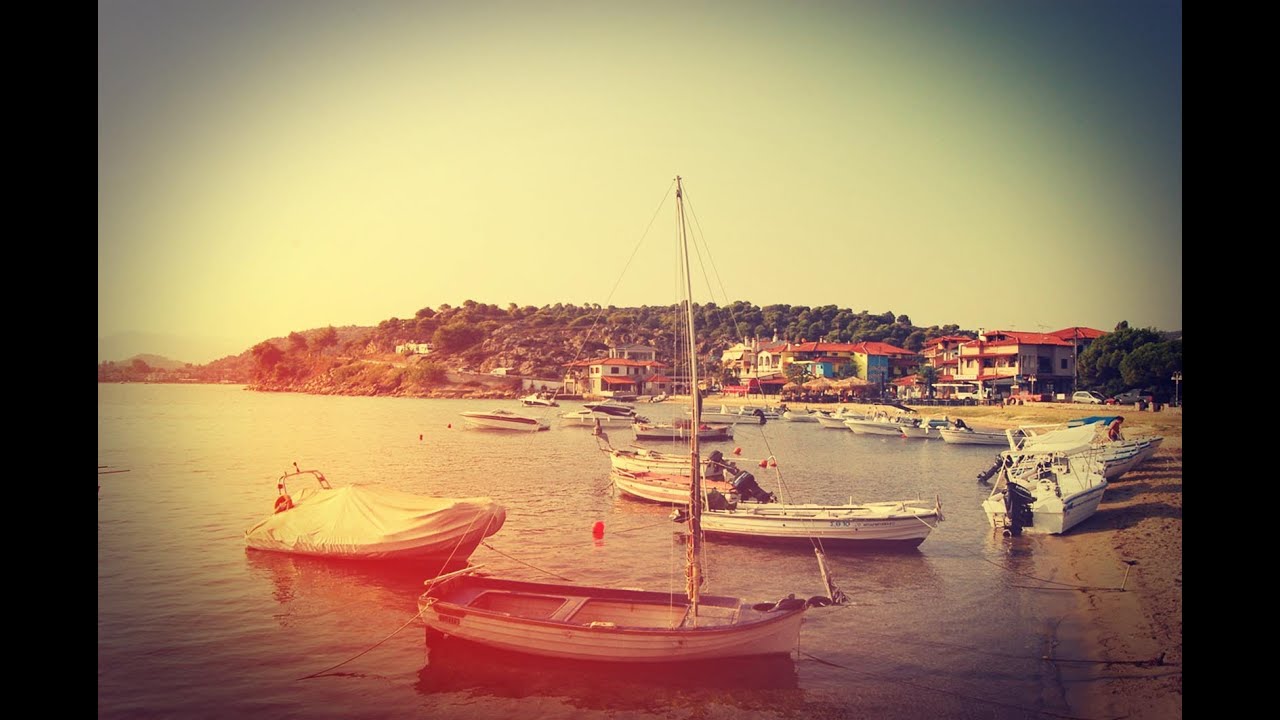
Some photographers opt for a more vintage look for their pictures; that is, having photographs look like traditional cameras took them. Black-and-white and even sepia-colored photos are becoming popular again. Admittedly, the applications for these types of photos are rather limited. Still, it would do well to learn how to make a new photo look old. Listed below are two tips that employ Photoshop. It is important to note though that the following tips do not take into account the built-in filters in modern cameras.

Play around with the hue/saturation: Open the original file and then begin by making the photo black and white. This is done by selecting the option “Adjustments” and double-clicking on Black & White. The system will automatically convert the original file into a two-toned image. From here, one can play around with the hue/saturation feature of the editing software. If one prefers a more sepia tone, move the Hue slider to the far left. Moving the Saturation slider to the right will make colors purer. Depending on the look one is looking for, switching, mixing, and matching will get the desired effect.
Surface blue: Aside from adjusting the coloring, a great way to make a photo look old is to create blurs. Remember that the passage of time can introduce a lot of external variables to the paper. Humidity, heat, and similar elements can all contribute to certain parts of a photo becoming blurred. To achieve this, go to the Filter > Blur > Surface Blur option. This is where it can get slightly complicated, but in general, you would have to adjust the blur options to various levels so that the effect is still realistic.
For more advanced photoediting, try the feather feature set at 80 pixels.
Radha C. Singh is a NJ-based photographer who loves sharing tips on Facebook.
